|
Determine What is Wrong with Your Solar PanelSolar panels are simple devices on the surface -- put them in the sun, get power. But when a panel suddenly drops from normal output to just a few watts, the cause isn't always obvious. Fortunately, with a Solar Panel Multimeter (a dedicated solar test tool) and a standard digital multimeter, you can diagnose most failures yourself. A practical, real‑world diagnostic guide based on hands‑on testing. This article walks you through the exact process used to diagnose a 100‑watt panel that mysteriously fell to 1.68 watts in full sun. The steps and results here will help you determine whether your own panel is suffering from a simple, fixable issue or whether it's time to retire it. 
Step 1: Start With the Solar Panel Multimeter (Test Tool)A solar panel multimeter is an excellent solar panel test tool. It makes determine whether a solar panel has failed a cinch. It also give you an idea whether the solar panel is fixable. See "Related Links" section below on where you can get your own solar panel multimeter. A solar panel multimeter is designed to measure:
These three numbers tell you almost everything about the panel's health. As example, we used the Solar Panel Multimeter to test a solar panel that has failed. The solar panel test tool revealed the following:

This combination is extremely telling... Normal voltage means the panel's cells are still producing electrical potential. Near‑zero current means the power path is broken or bypassed. Low wattage is simply the result of low current. When voltage is normal but current collapses, the problem is almost always a failed bypass diode or a broken cell string / ribbon inside the panel. The diode is the only part you can realistically fix yourself. Step 2: Inspect the Junction Box and WiringAfter seeing the abnormal readings, the next step is to inspect the junction box - the small enclosure where the panel's internal cell strings connect to the output wires. Inside, you'll typically find:
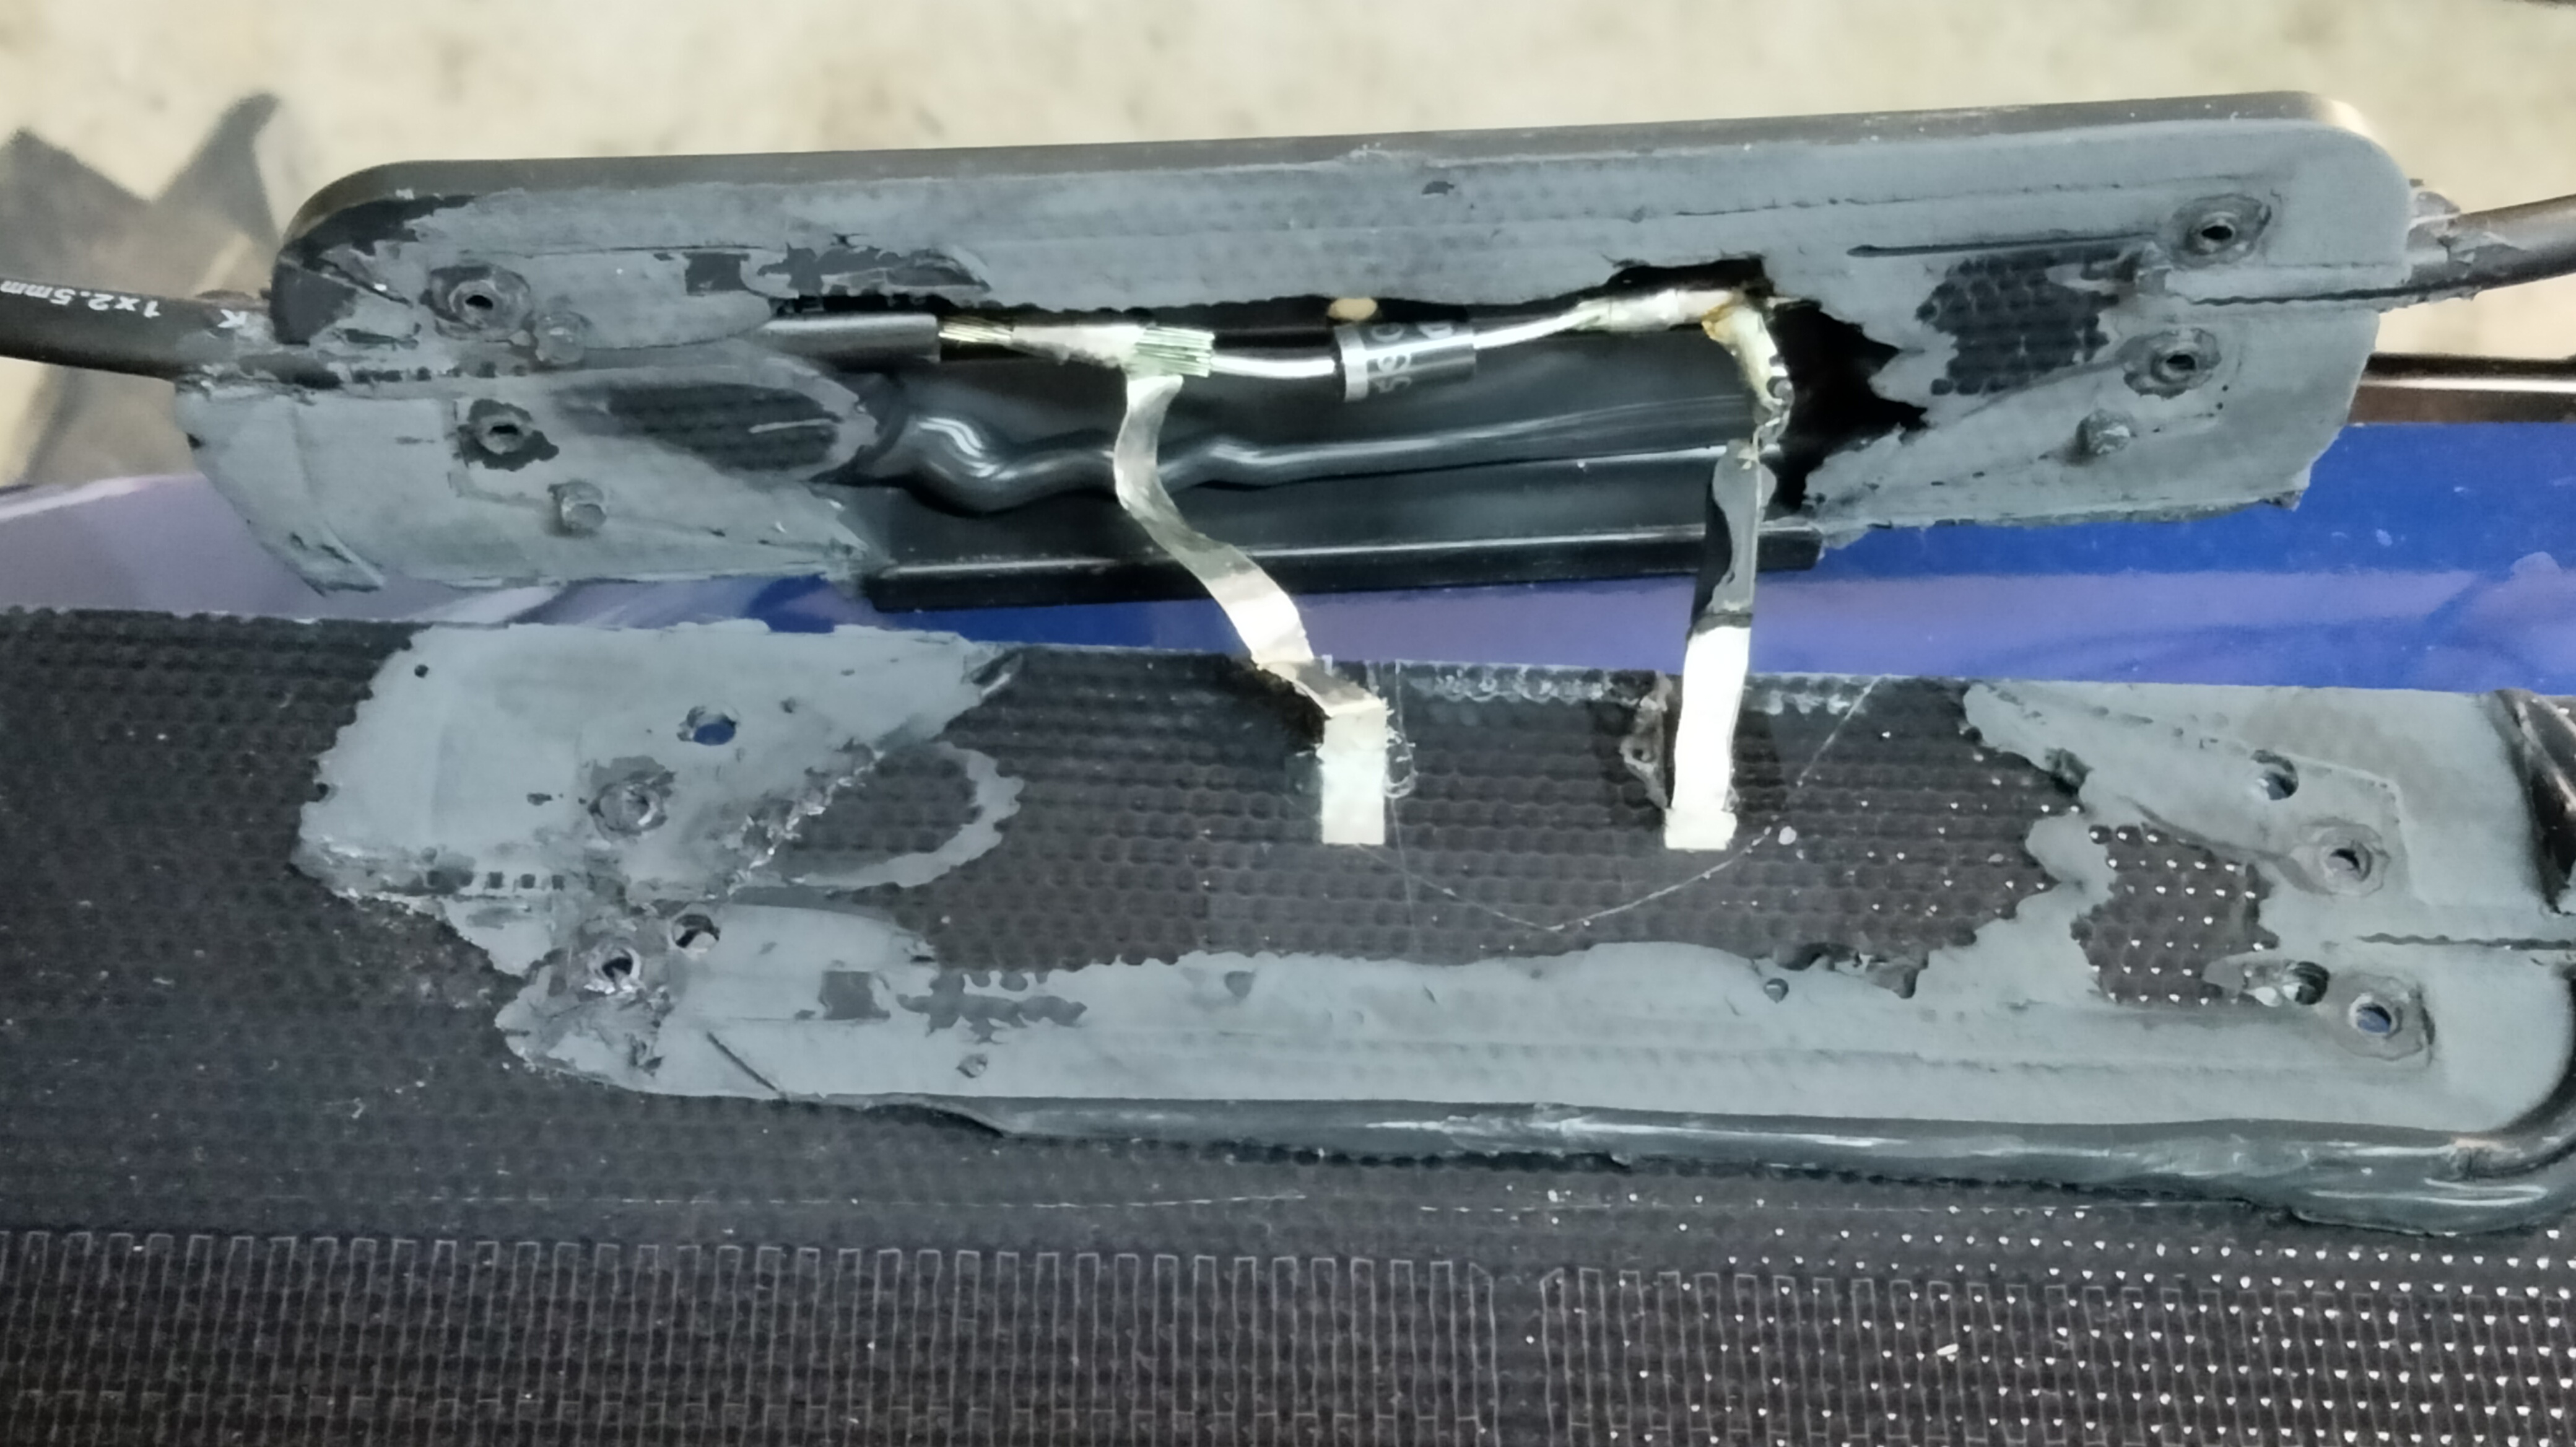
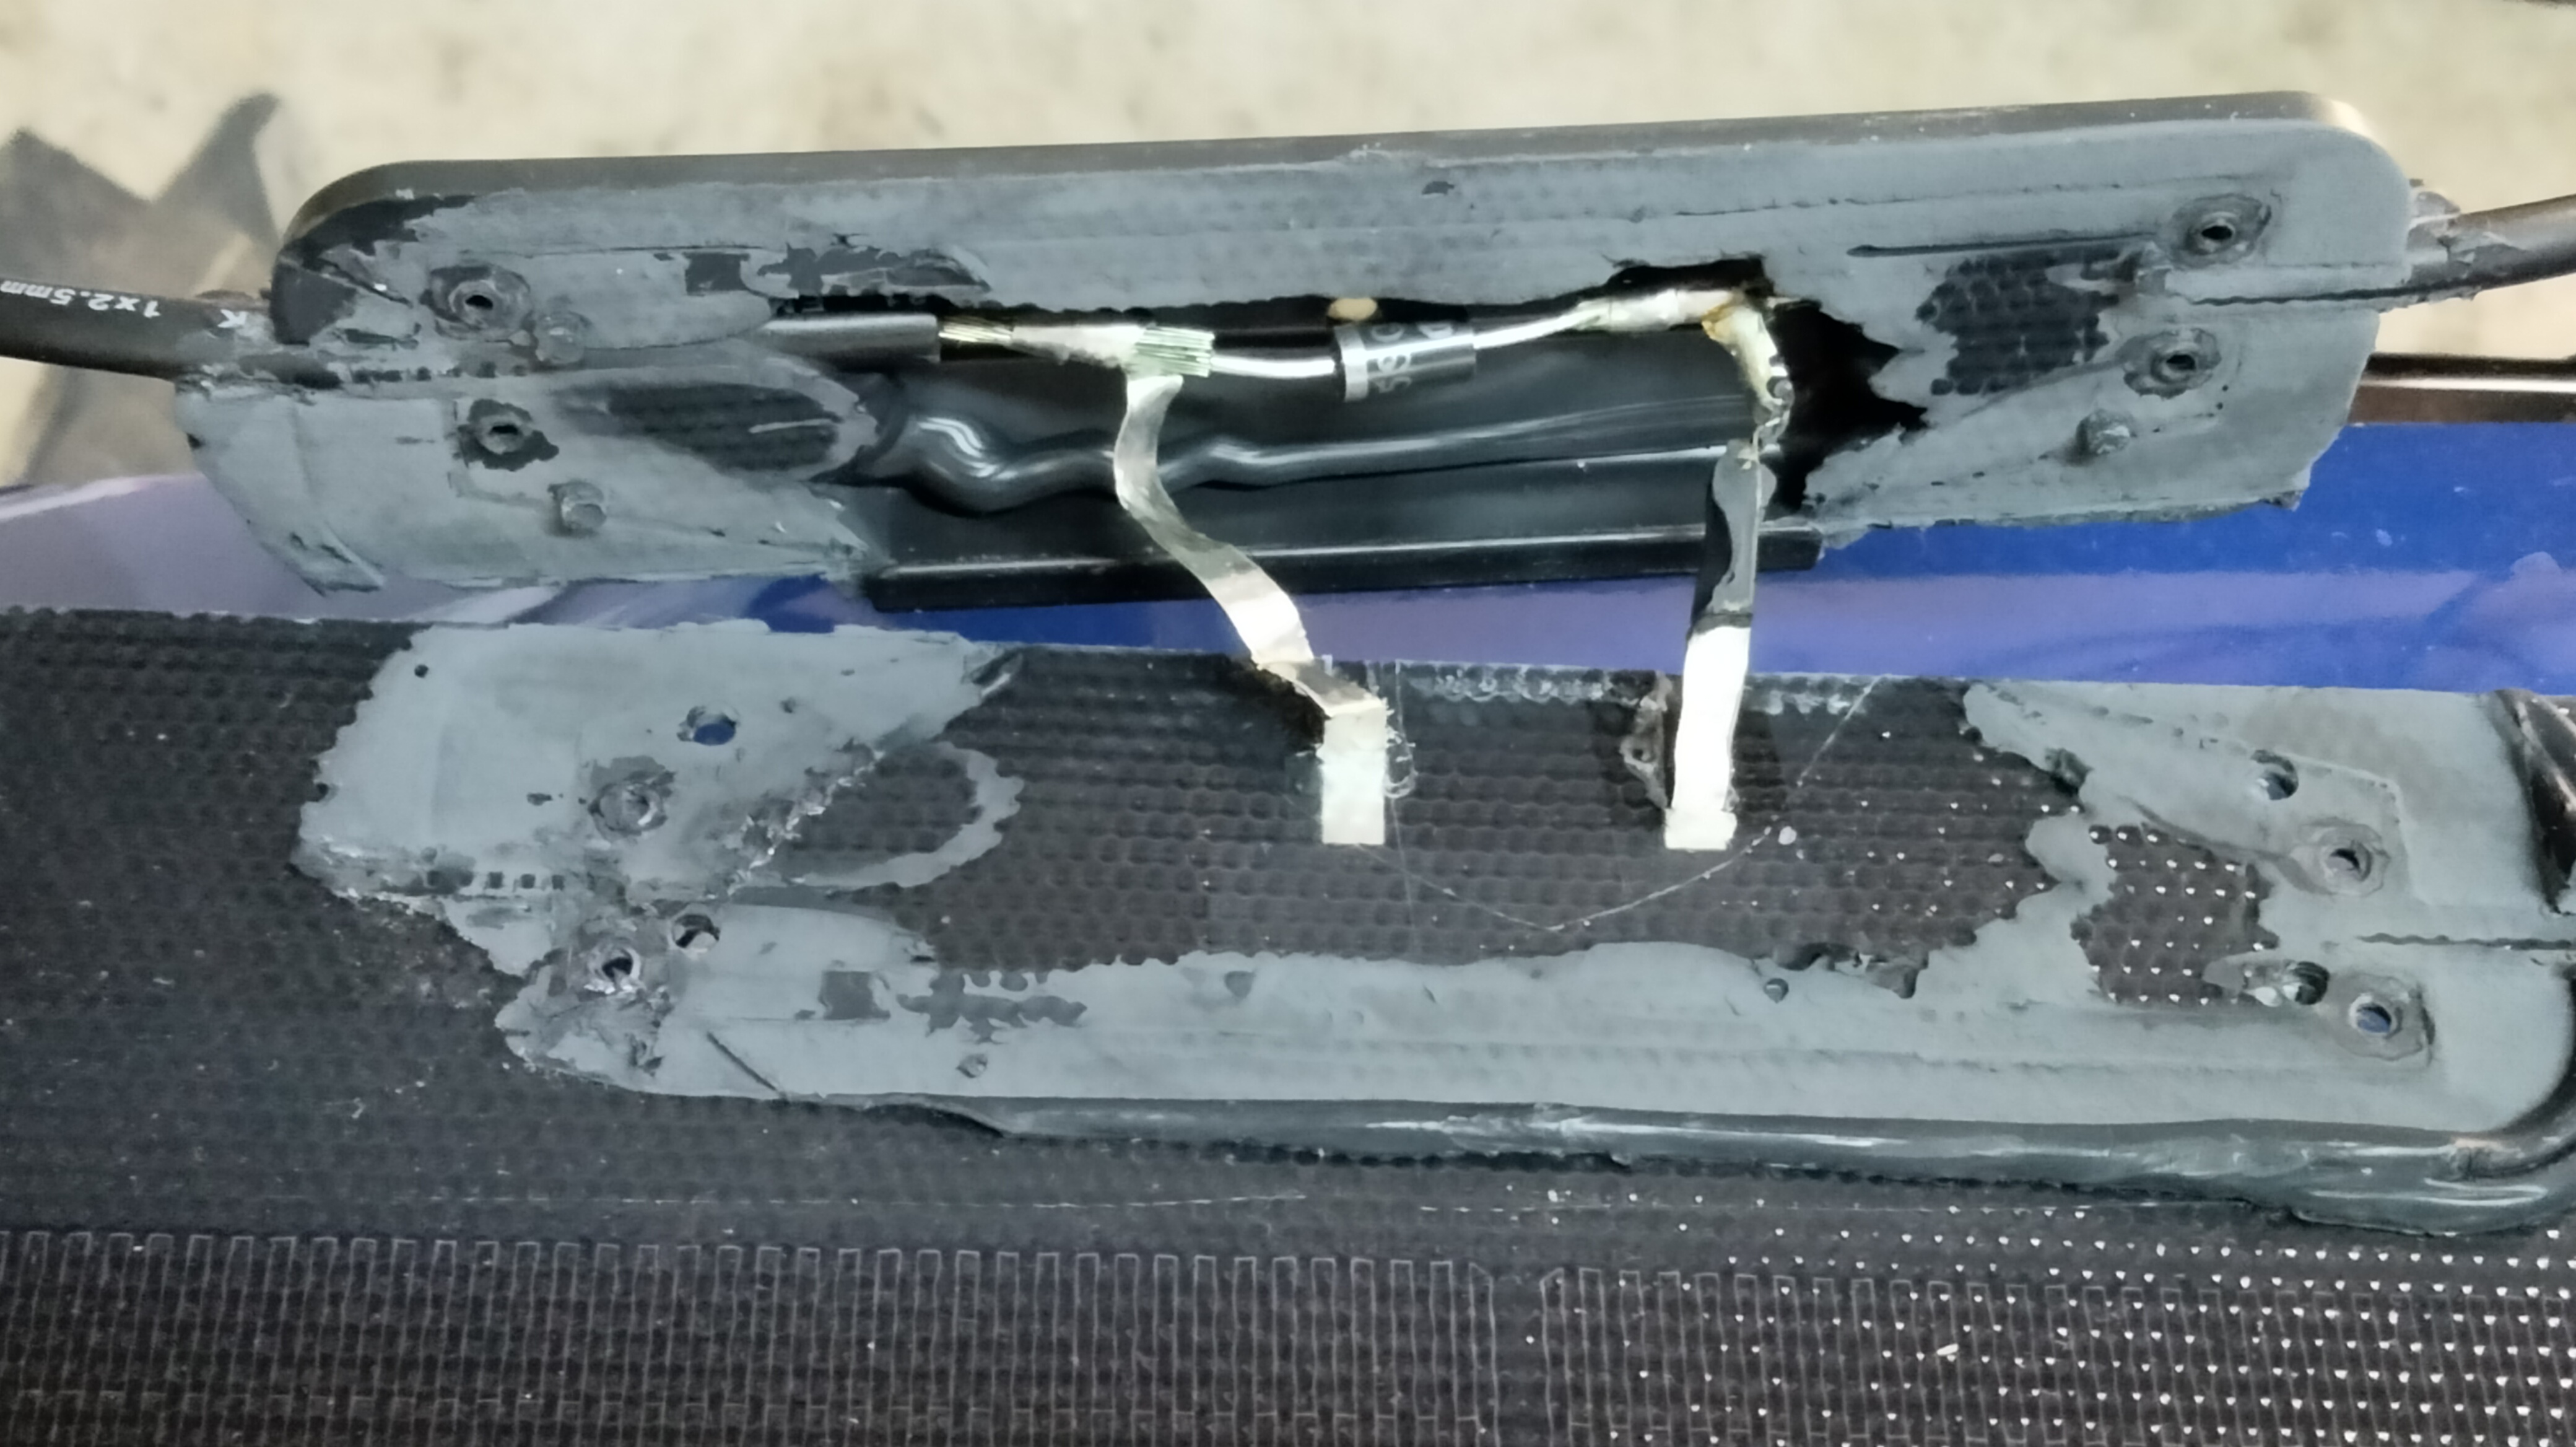
First thing to check once you opened up the junction box is to see if there are any obvious failures, such as broken wire, loose connection, burnt parts. If you don't see any obvious signs of failure, it's time to check the Schottky bypass diode(s). What Does Schottky Bypass Diode Do in a Solar Panel?In your panel's junction box there are usually bypass diodes wired across groups of cells (strings). Their job is to protect shaded cells; if one fails short or open, it can kill most of the panel's current. Test the Diode With a Digital MultimeterA digital multimeter can test diodes without removing them easily. You'll need a digital multimeter with diode test mode. See "Related Links" section below on where you can get your own digital multimeter. Once you have the digital multimeter, it's time to proceed with testing. Disconnect the panel from everything (controller, battery, load). Leave the diode physically connected. This test works even while the diode is still soldered in, because bypass diodes are wired across cell strings, not in series. Turn on the multimeter and put it in diode test mode. Touch the probes to each side of the diode. What you should see:
If you see:
In our failed solar panel example, the diode test result shows:
This is the signature of a shorted diode. A healthy Schottky diode should show:
But 0.00V forward means the diode has failed short -- effectively acting like a wire. A shorted bypass diode permanently bypasses an entire string of solar cells. That instantly drops panel current to near zero while leaving voltage mostly intact -- exactly the symptoms measured earlier. This diode had failed internally, causing the entire panel to behave like a 2‑watt trickle charger instead of a 100‑watt module. Final Diagnosis and OutcomeWith just two tools, a Solar Panel Multimeter and a digital multimeter, you can diagnose most solar panel failures yourself. Based on the measurements and diode test, the solar panel itself is fine, but it's bypass diode has failed. Replacing the diode will likely restore the panel's full output (3 - 6 amps in full sun). If replacing the diode does not restore current, then the panel has deeper internal damage. But the diode was definitely bad and needed replacement regardless. In this case, the panel wasn't "dead" at all. It was being crippled by a single failed bypass diode. Identifying and replacing that diode is a straightforward repair that can bring a seemingly dead panel back to life. See our "Fixing Your Failed Solar Panel" to see how to upgrade the diode and repairing the solar panel. Related Links
Attachments
|
Articles
|
Wiki
93 Users Online
Get Our

|
|
Copyright © 2004 - 2026. All Rights Reserved. |
|


 - Amazon User Reviews
 - Amazon User Reviews
 - Amazon User Reviews
 - Amazon User Reviews