
|
Adding the Brother MFC-7820N Network Printer to Windows 7If your Brother MFC-7820N is already running on your network, you can follow the instruction here to get it to work with your Windows 7 computer. You don't need the driver disk at all, Windows 7 will find the driver and install it for you. Next, open up "Printer" through the "Control Panel". Once it's open, click on "Add a printer" link on the top. That brings up the "Add Printer" dialog as shown in the screen shot below. Click on the "Add a local printer" button to move forward; even though we are setting up a network printer, we have to go through the install local printer route. 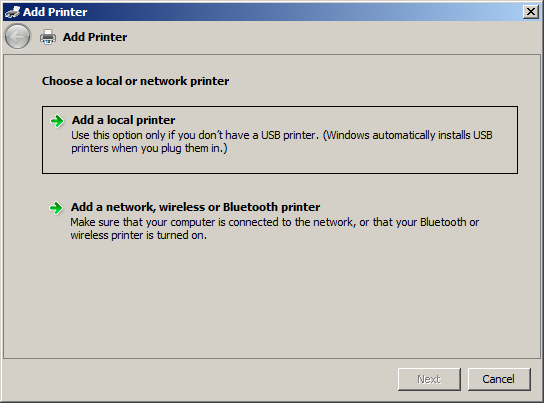
In this "Choose a printer port" screen, we will create a new "Standard TCP/IP Port" as shown in the screen shot below. To do so, select "Create a new port:". Then select "Standard TCP/IP Port" from the pull-down menu. Click "Next" to continue. 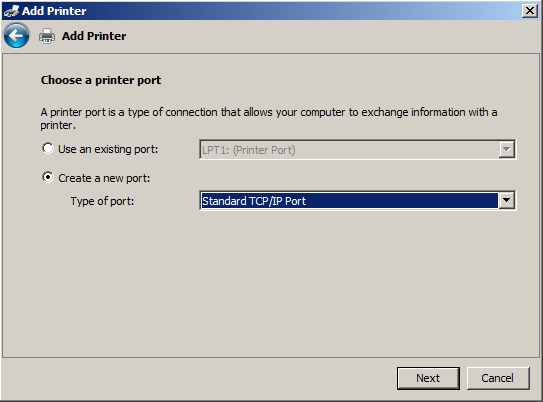
In the next screen, Windows 7 needs to know the IP address of your Brother MFC-7820N Network Printer. Type that in the first text field (see screen shot below). Windows 7 will automatically fill out the second field for you. Click on the "Next" button to continue. 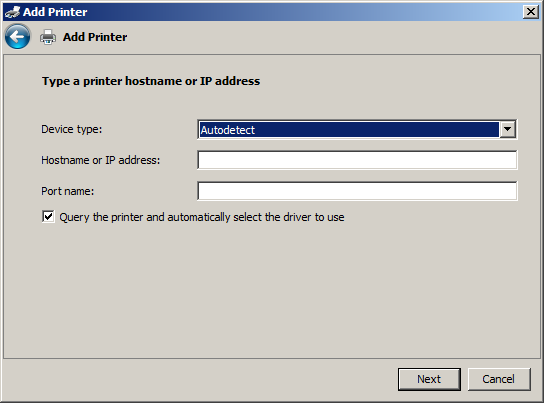
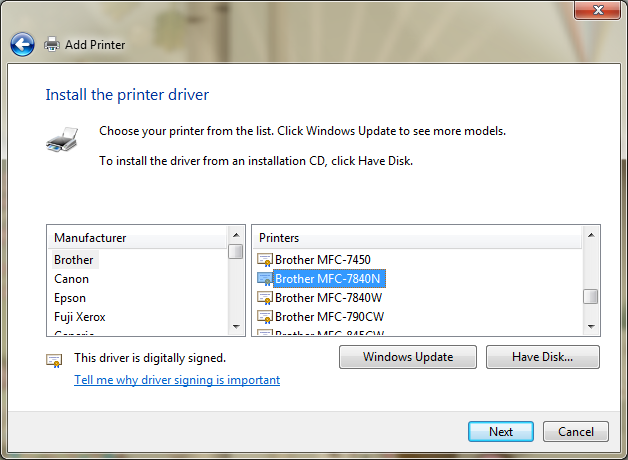
Windows 7 will proceed to look for your Brother MFC-7820N Network Printer and its driver. Unfortunately it won't find it. Instead, it pops up a box (see screenshot below) to let you pick the right driver for your printer. The MFC-7840N driver is the closest driver to your printer. I've tried this driver before and it works. You can use the MFC-7840N driver or you can go one step further to get the correct driver through Windows Update.

Click on the "Windows Update" button on the driver list. After waiting a while, the dialog box will present you with an updated list of drivers. Click on "Brother" under "Manufacturer" and then scroll down to "Brother MFC-7820N USB Printer" under "Printers" (see screen shot below). Click the "Next" button to continue. After selecting the driver, Windows 7 pops up the "Type a printer name" dialog box as shown below. Click on the "Next" button to continue. 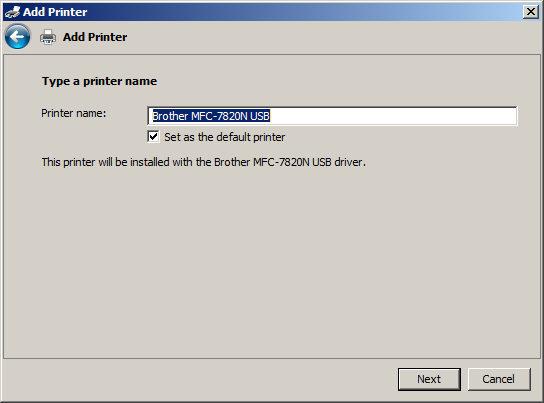
In the next screen, see screen shot below, Windows 7 asks whether you want to share this printer on the network. The Brother MFC-7820N Network Printer is already shared on the network. There is no reason to share it again. So select "Do not share this printer" on this screen. 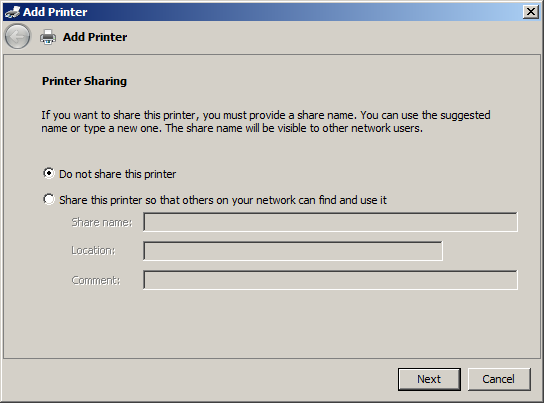
Finally, Windows 7 reports that your Brother MFC-7820N Network Printer is now installed (see screen shot below). You have the option to print a test page. But it's not necessary. Click the "Finish" button to complete the process. You are ready to use the printer. 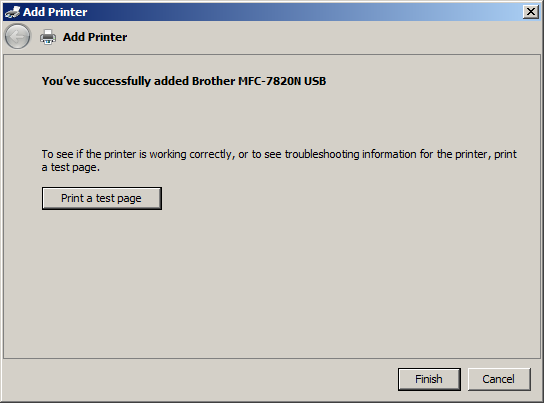
Related Links
Attachments
|
Articles
|
Wiki
162 Users Online
Get Our

|
|
Copyright © 2004 - 2025. All Rights Reserved. |
|


