Older Revision of Seagate FreeAgent GoFlex Desktop External Hard Drive Disassembly
Seagate FreeAgent GoFlex Desktop External Hard Drive Disassembly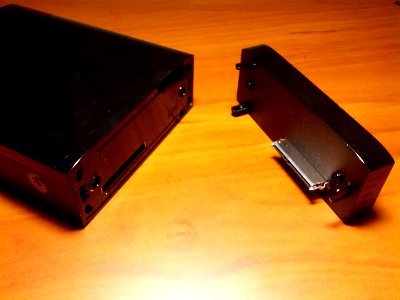
Pulling out my Seagate FreeAgent GoFlex Desktop External Hard Drive (2TB version) today, I found that it has a detachable dock on accident (it was loose). That got me interested in taking the drive apart. In this article, I will show you the process and the hardware inside the enclosure. 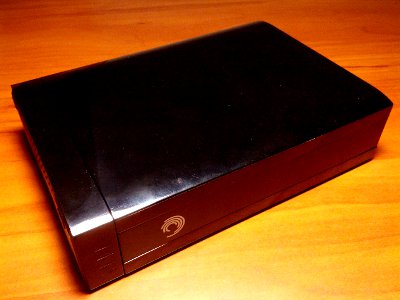
Four rubber feet are on the bottom of the detachable dock, meaning the drive is meant to stand vertically. You can, of course, lay it down on its side. Connectivity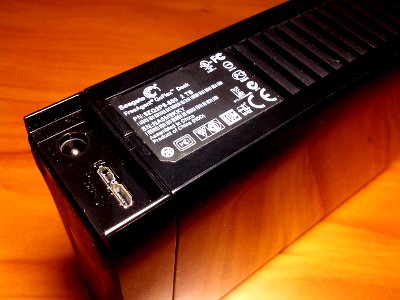
The hard drive enclosure only has two ports on the dock: 1) the SuperSpeed USB 3.0 port and the AC power port. As shown in the photo below, the AC port is 12 volts with a positive center. The SuperSpeed port is labeled with the SS logo. The drive has a single while LED in the front of the dock. DisassemblyThere are no screws anywhere on the case. They are not under any rubber feet, nor are they under the label. Instead, the case is snapped together with locking tabs. It's obvious that the manufacturer didn't intend you to open it. Use a small flat-head screwdriver to pry between the seams on the drive. I decide to start on the vents on the back of the drive (see photo below). Because they are locking tabs, you will break off several, if not all, of the tabs to open the case. 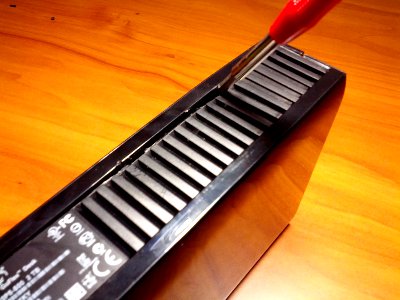
Since it's locking tabs, just pull the plastic case apart. You'll see that the case is just big enough for the hard drive and the heat sink (see photo below). 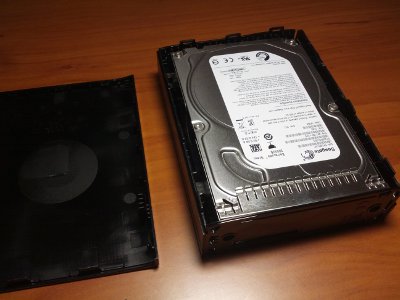
From the drive label (as shown in the photo below), you'll see that it contains a Seagate Barracuda Green Desktop Hard Drive ST2000Dl003. 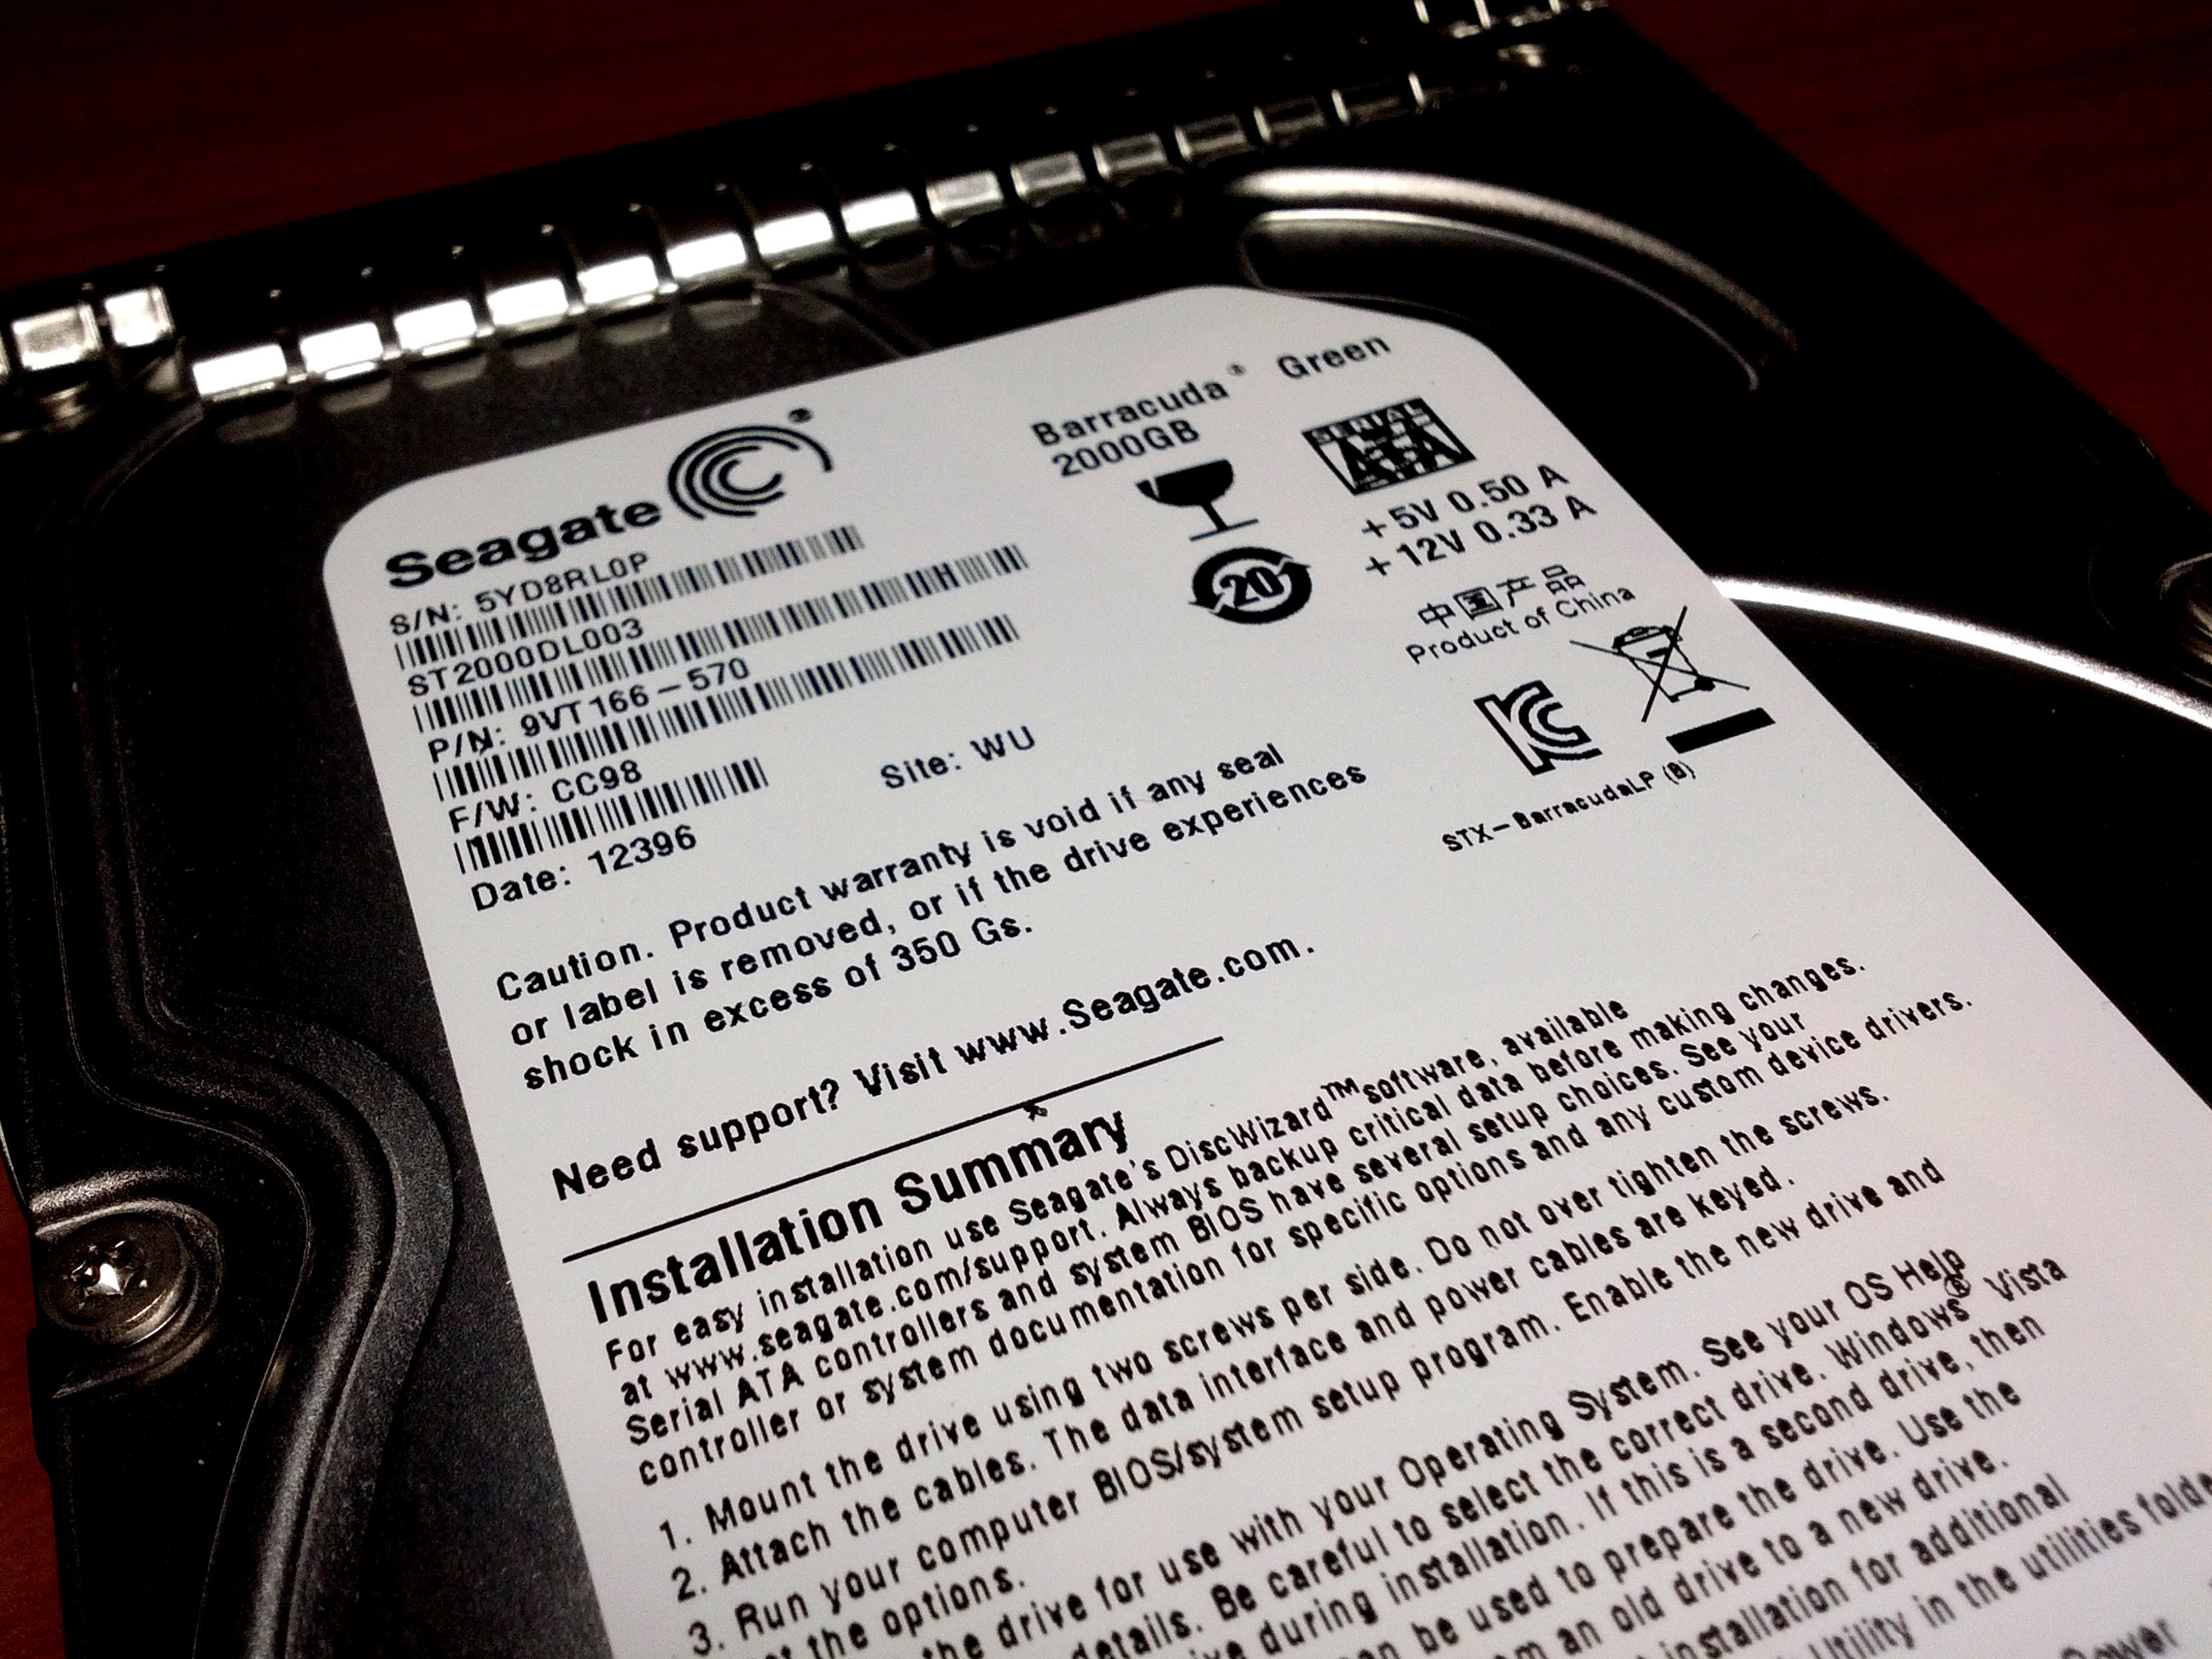
Seagate describes its spec as: "Barracuda� Green desktop hard drives feature capacities up to 2TB and a unique 5900-RPM spin speed to deliver the highest performance available in a green drive. Up to 20% faster than other eco-friendly internal hard drives. Up to 44% less power consumption than standard desktop drives. Optimized performance with available 64MB cache and SATA 6Gb/s interface. SmartAlign technology for easy migration to the new Advanced Format 4K sector standard." Once you pull the hard drive and heat sink out of the plastic case, you'll see the following: 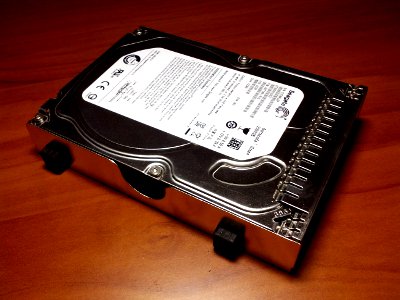
Pull the rubber damper off the heat sink to reveal the screws (see photo below). These screws attach the heat sink to the drive. 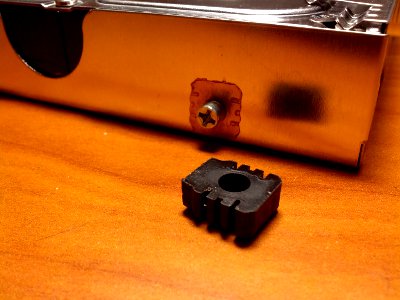
The heat sink is just a thin piece of metal that is barely bigger than the drive (see photo below). 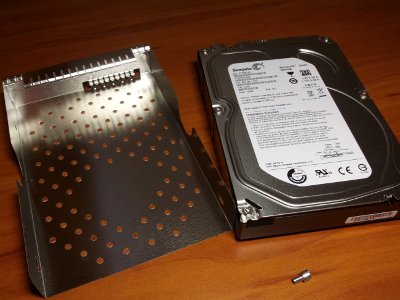
DockThe removable dock on this FreeAgent drive is actually really cool. Because you can attach any SATA hard drive to it. It just uses the standard SATA connector. So you can use it as a free standing SATA/USB hard drive dock. The only problem is that there is a gap between an internal hard drive and the dock, as shown in the photo below. You need to stabilize the drive if you are going to use it this way. 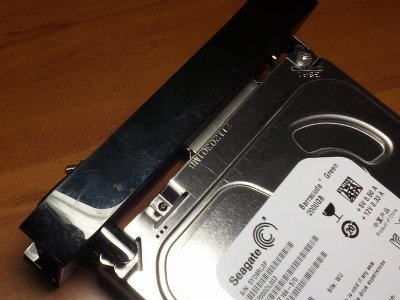
If you are not planning to use the plastic case any longer, you can use the four rubber dampers to close the gap (like in the photo below). But if you are going to use the plastic case, then you'll need to find another gap closer. 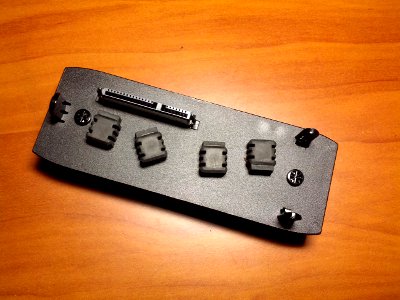
The following photo shows the dock being used with an internal drive with the rubber dampers. 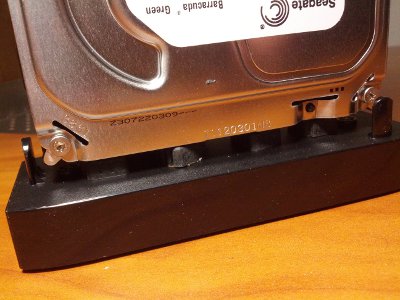
I've tried a 750 GB and a 500 GB hard drives on the dock. They both work just fine. But the white LED in front of the dock won't light up when these other hard drives are mounted. Related Links
|
Articles
|
Wiki
144 Users Online 

|
|
Copyright © 2004 - 2024. All Rights Reserved. |
|